Thanks for checking out this front-end coding challenge.
Frontend Mentor challenges help you improve your coding skills by building realistic projects.
To do this challenge, you need a basic understanding of HTML and CSS.
The challenge
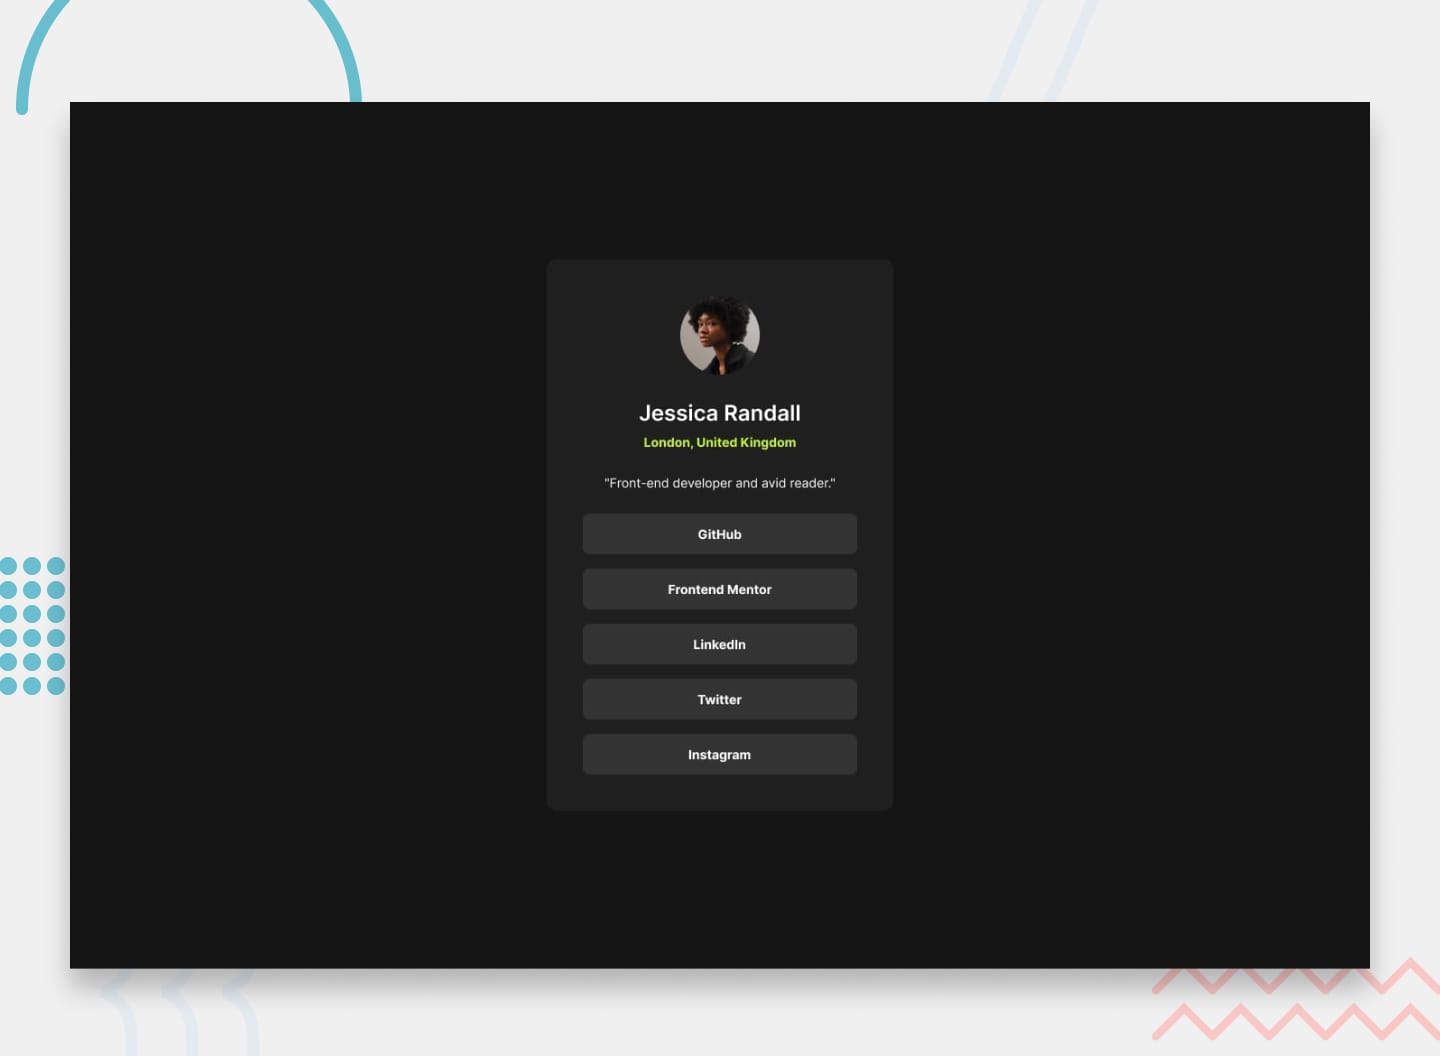
Your challenge is to build out this social links profile and get it looking as close to the design as possible.
You can use any tools you like to help you complete the challenge. So if you’ve got something you’d like to practice, feel free to give it a go.
Your users should be able to:
See hover and focus states for all interactive elements on the page
Want some support on the challenge? Join our community and ask questions in the #help channel.
Where to find everything
Your task is to build out the project to the designs inside the /design folder. You will find both a mobile and a desktop version of the design.
The designs are in JPG static format. Using JPGs will mean that you’ll need to use your best judgment for styles such as font-size, padding and margin.
If you would like the design files (we provide Sketch & Figma versions) to inspect the design in more detail, you can subscribe as a PRO member.
All the required assets for this project are in the /assets folder. The images are already exported for the correct screen size and optimized.
We also include variable and static font files for the required fonts for this project. You can choose to either link to Google Fonts or use the local font files to host the fonts yourself. Note that we’ve removed the static font files for the font weights that aren’t needed for this project.
There is also a style-guide.md file containing the information you’ll need, such as color palette and fonts.
Building your project
Feel free to use any workflow that you feel comfortable with. Below is a suggested process, but do not feel like you need to follow these steps:
Initialize your project as a public repository on GitHub. Creating a repo will make it easier to share your code with the community if you need help. If you’re not sure how to do this, have a read-through of this Try Git resource.
Configure your repository to publish your code to a web address. This will also be useful if you need some help during a challenge as you can share the URL for your project with your repo URL. There are a number of ways to do this, and we provide some recommendations below.
Look through the designs to start planning out how you’ll tackle the project. This step is crucial to help you think ahead for CSS classes to create reusable styles.
Before adding any styles, structure your content with HTML. Writing your HTML first can help focus your attention on creating well-structured content.
Write out the base styles for your project, including general content styles, such as font-family and font-size.
Start adding styles to the top of the page and work down. Only move on to the next section once you’re happy you’ve completed the area you’re working on.
Deploying your project
As mentioned above, there are many ways to host your project for free. Our recommend hosts are:
We strongly recommend overwriting this README.md with a custom one. We’ve provided a template inside the README-template.md file in this starter code.
The template provides a guide for what to add. A custom README will help you explain your project and reflect on your learnings. Please feel free to edit our template as much as you like.
Once you’ve added your information to the template, delete this file and rename the README-template.md file to README.md. That will make it show up as your repository’s README file.
Remember, if you’re looking for feedback on your solution, be sure to ask questions when submitting it. The more specific and detailed you are with your questions, the higher the chance you’ll get valuable feedback from the community.
Sharing your solution
There are multiple places you can share your solution:
Share your solution page in the #finished-projects channel of our community.
Tweet @frontendmentor and mention @frontendmentor, including the repo and live URLs in the tweet. We’d love to take a look at what you’ve built and help share it around.
Share your solution on other social channels like LinkedIn.
Blog about your experience building your project. Writing about your workflow, technical choices, and talking through your code is a brilliant way to reinforce what you’ve learned. Great platforms to write on are dev.to, Hashnode, and CodeNewbie.
We provide templates to help you share your solution once you’ve submitted it on the platform. Please do edit them and include specific questions when you’re looking for feedback.
The more specific you are with your questions the more likely it is that another member of the community will give you feedback.
Got feedback for us?
We love receiving feedback! We’re always looking to improve our challenges and our platform. So if you have anything you’d like to mention, please email hi[at]frontendmentor[dot]io.
This challenge is completely free. Please share it with anyone who will find it useful for practice.
If you want to use sumo-gui and/or netedit, you need to install XQuartz as a requirement:
brew install --cask xquartz
Install
brew tap dlr-ts/sumo
brew install sumo
Upgrade from older SUMO versions installed with Homebrew
brew upgrade sumo
Usage
By default, the above command lines install a bottled SUMO stable version (currently 1.20.0) with minimal requirements (fox, proj, xerces-c).
Alternatively, brew can compile SUMO from source with the following command line options:
brew install [OPTIONS] sumo

==> Options
--with-examples
    Install docs/examples and docs/tutorial folder
--with-ffmpeg
    Build with ffmpeg support
--with-gdal
    Build with gdal support
--with-gl2ps
    Build with gl2ps support
--with-open-scene-graph
    Build with open-scene-graph support
--with-swig
    Build with swig support
--HEAD
    Install HEAD version (latest developer version of sumo)
Homebrew Cask for macOS app bundles (optional)
If you would like to have a little more integration with macOS, you can also install the following app bundles (created with macOS Automator) to the /Applications folder:
SUMO GUI.app (sumo-gui)
Netedit.app (netedit)
OSM Web Wizard.app (osm-web-wizard)
Install with:
brew install --cask sumo-gui
Troubleshooting
If you encounter any problems, please first check your brew installation (also see Homebrew Troubleshooting):
Licensed under the Apache License, Version 2.0 (the “License”); you may not use this file except in compliance with the License. You may obtain a copy of the License at
Unless required by applicable law or agreed to in writing, software distributed under the License is distributed on an “AS IS” BASIS, WITHOUT WARRANTIES OR CONDITIONS OF ANY KIND, either express or implied. See the License for the specific language governing permissions
This repository is the stable base upon which we build our React projects at Mirego. We want to share it with the world so you can build awesome React applications too.
Introduction
To learn more about why we created and maintain this boilerplate project, read our blog post.
Content
This boilerplate comes with batteries included, you’ll find:
Mirego is a team of passionate people who believe that work is a place where you can innovate and have fun. We’re a team of talented people who imagine and build beautiful Web and mobile applications. We come together to share ideas and change the world.
The Cash Flow Web App is a simple web application that allows users to track their expenses and view analytics related to their cash flow. Users can add their expenses and categorize them for better organization and analysis.
Features
Expense Tracking: Users can add, edit, and delete their expenses, providing information about the account, sum, date, category, and optional comment.
Expense Categories: Expenses can be categorized, making it easier to track spending patterns.
Analytics: The app provides a user-friendly analytics dashboard that offers insights into the user’s cash flow, such as total expenses, expenses by category, and expenses over time.
Demo
You can try the demo of the Cash Flow Web App here.
Installation
To run the Cash Flow Web App locally, follow these steps:
If you would like to contribute to the Cash Flow Web App, follow these steps:
Fork the repository on GitHub.
Create a new branch with a descriptive name for your feature or bug fix.
Make your changes and commit them with clear commit messages.
Push your changes to your fork.
Create a pull request to the main repository’s master branch.
Contact
For questions or inquiries, feel free to contact the project maintainers at sales@maxinum.co.
Thank you for using the Cash Flow Web App! We hope it helps you manage your expenses effectively and gain valuable insights into your cash flow. If you encounter any issues or have suggestions for improvements, please let us know. Happy budgeting!
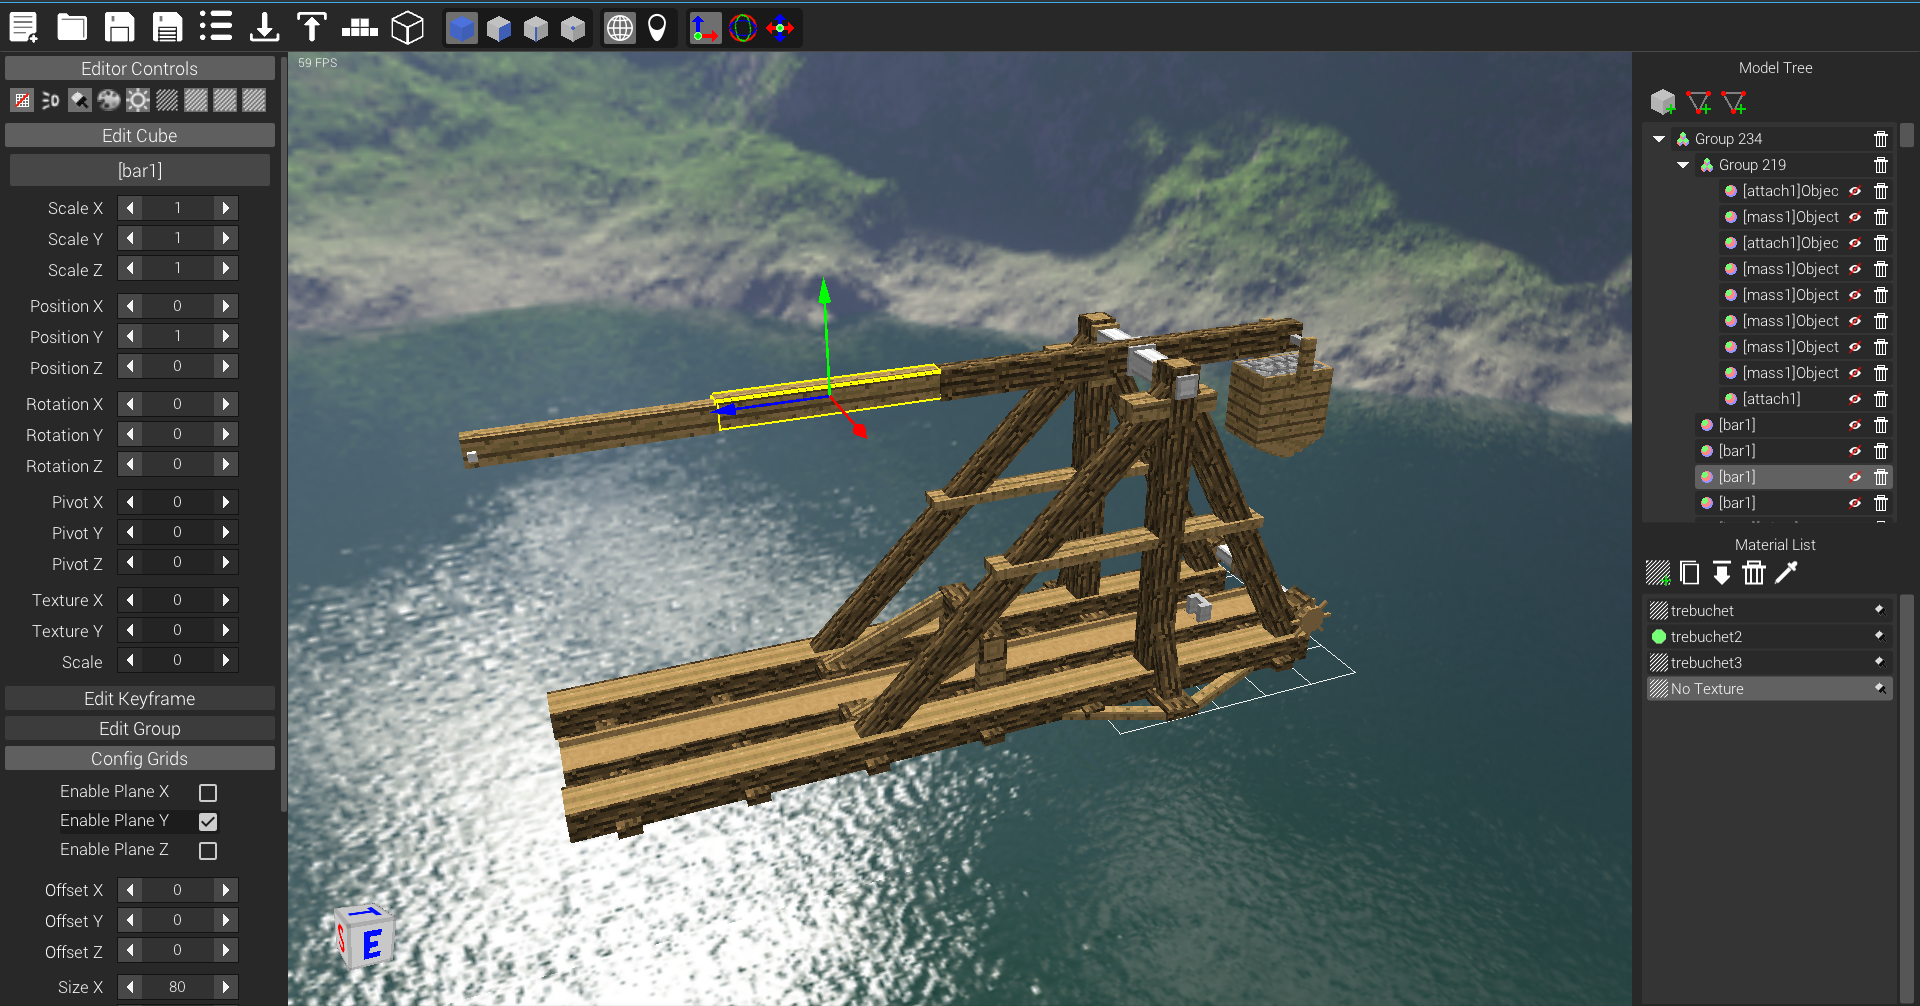
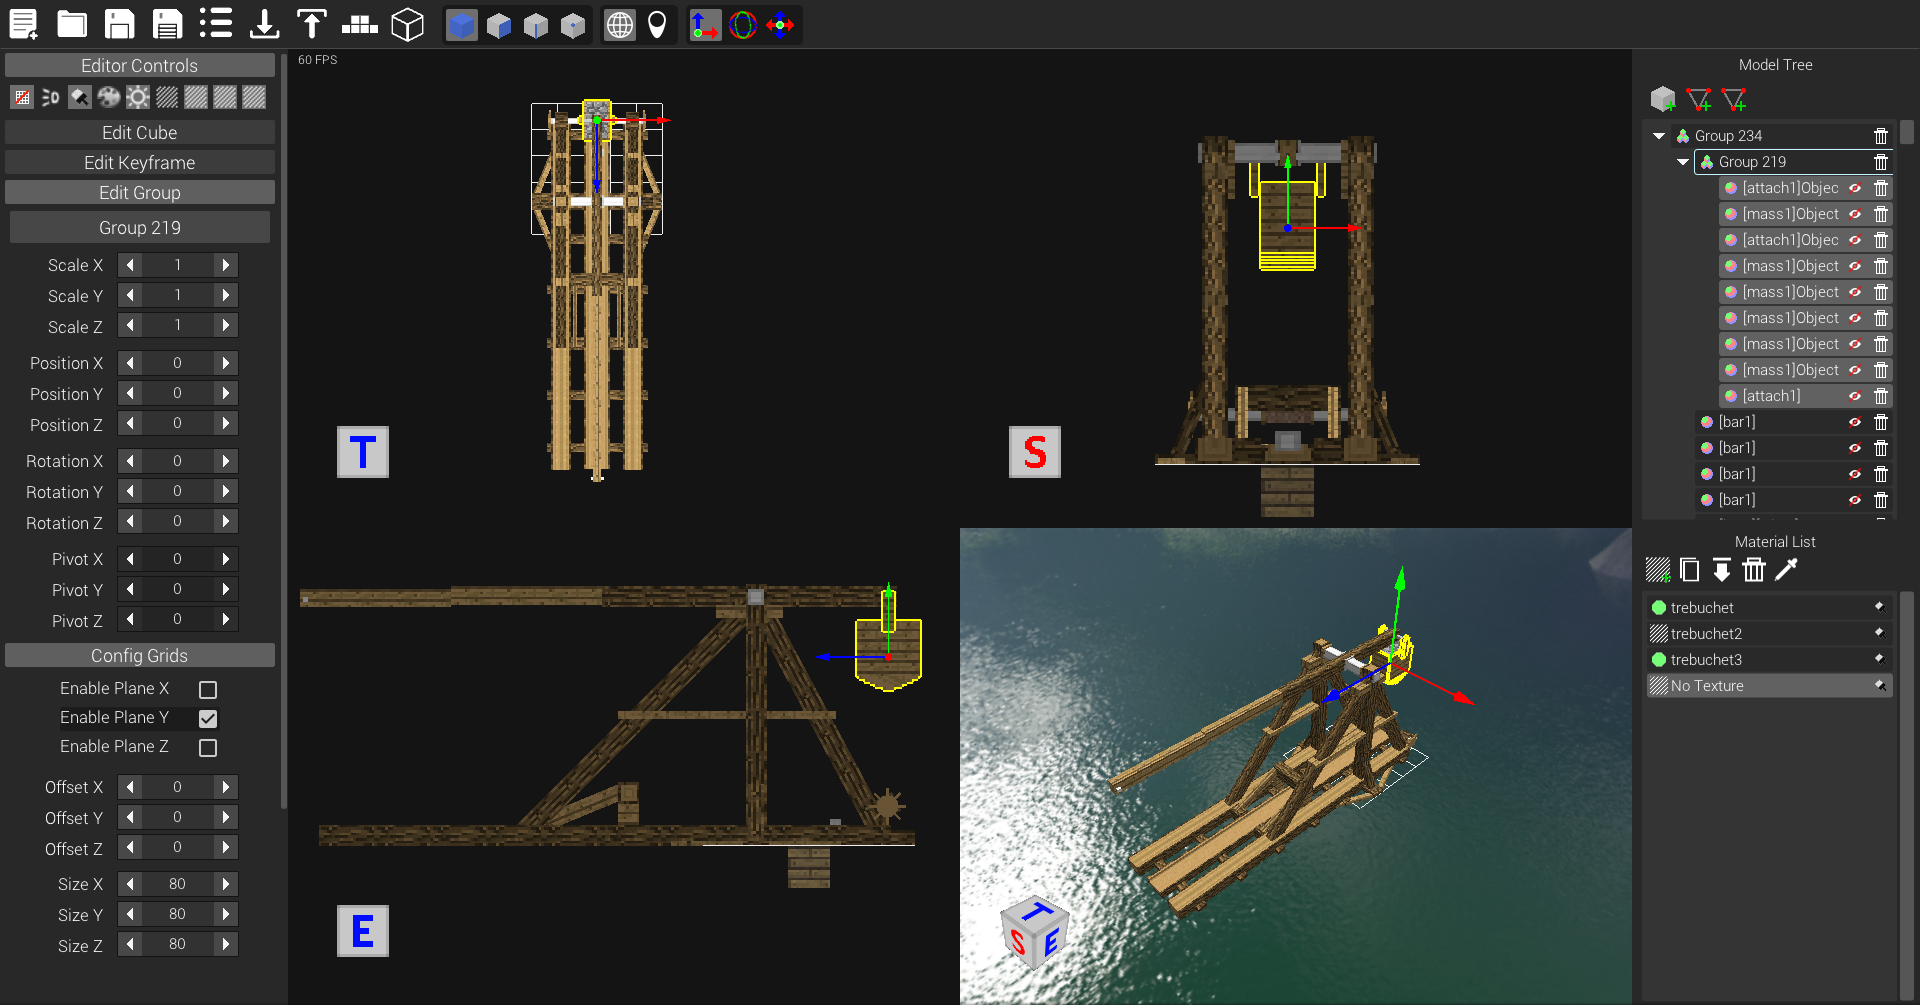
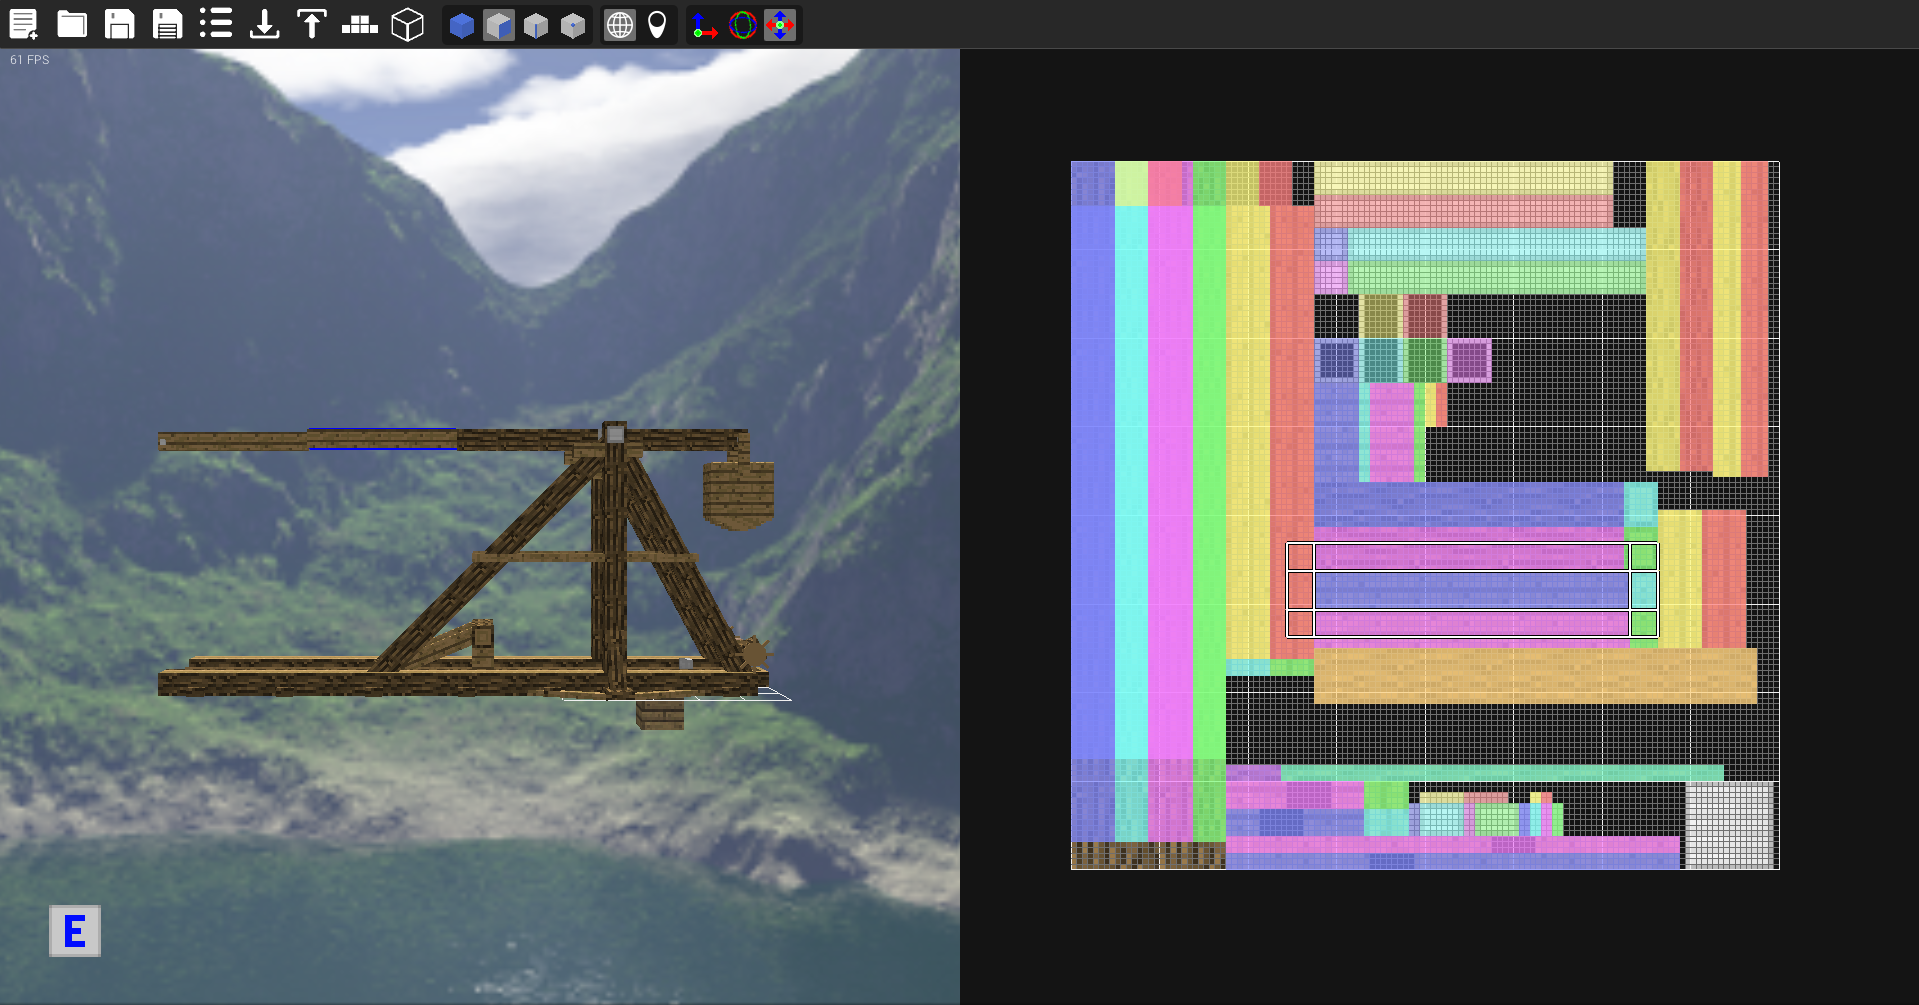
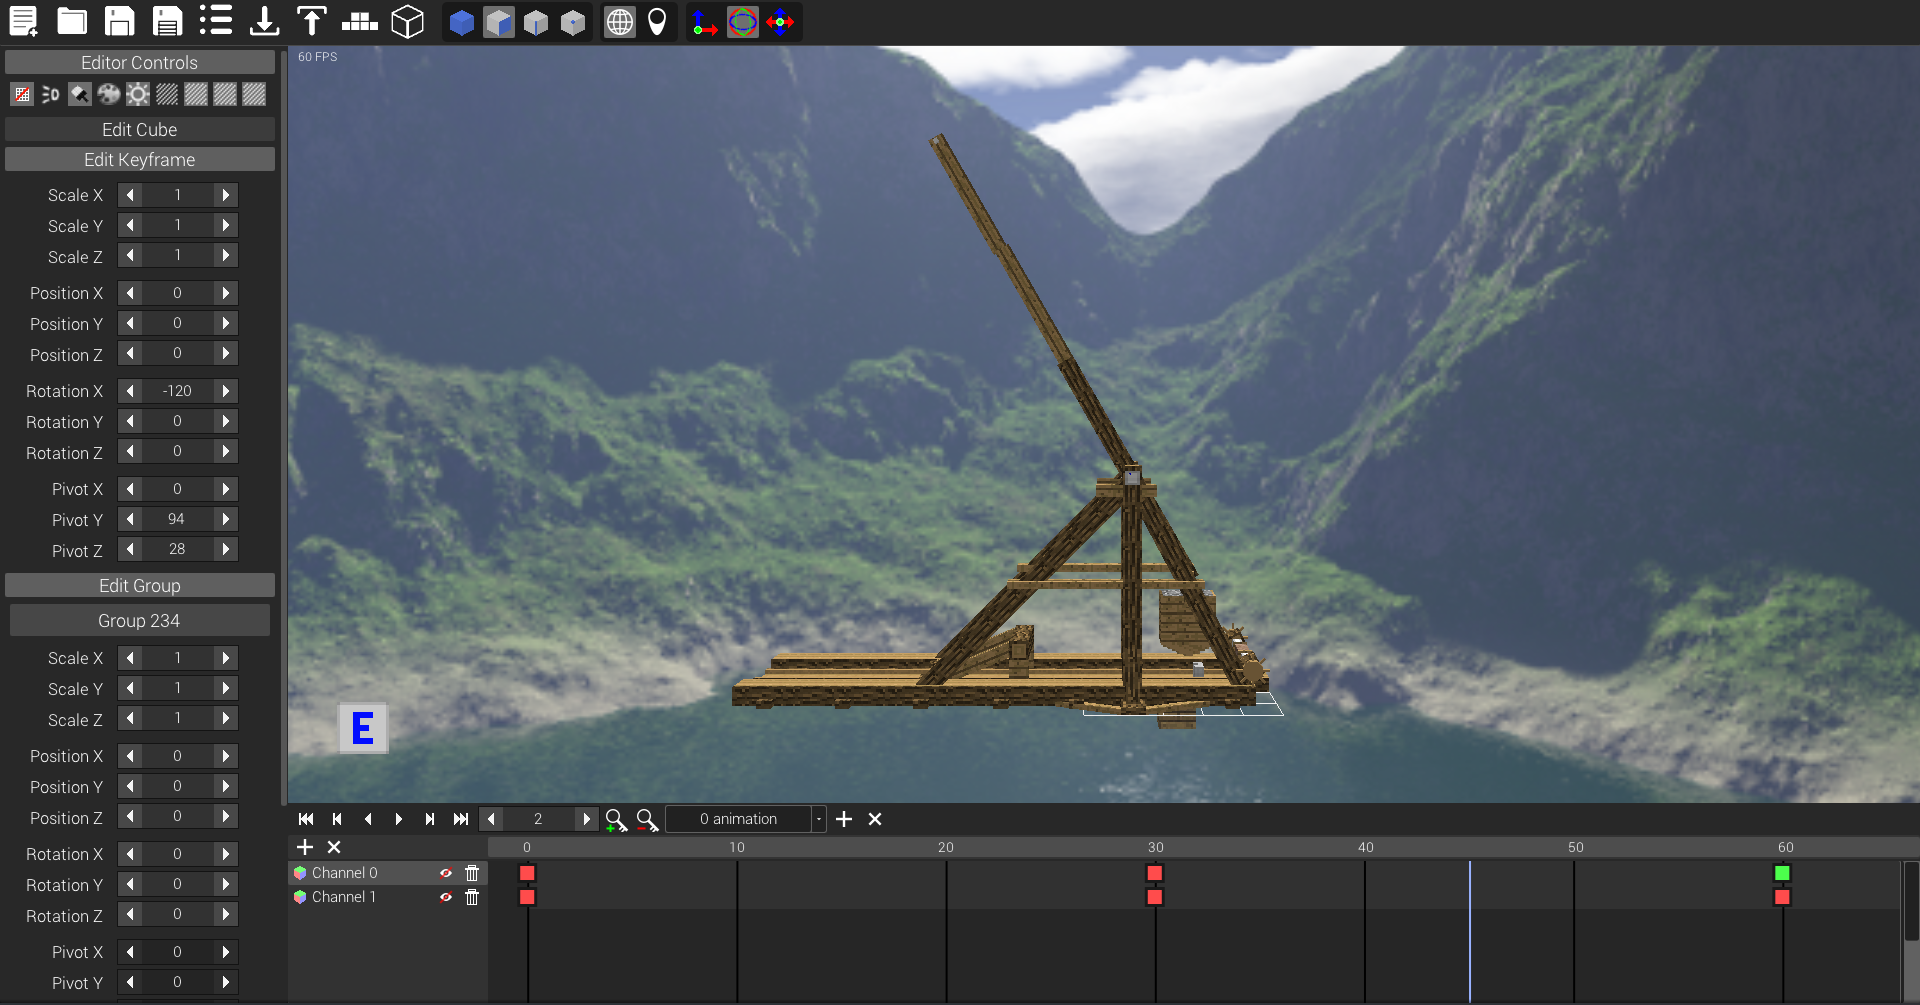
This tool is written in Kotlin, using LWJGL3 for rendering and Legui to build user interfaces
Screenshots
How to install/run
Go to releases in github and download the latest version. In each release there are 3 files, you need to download the file modeler-A.B-beta.jar where A.B is the version of the program.
Once you get the jar file, create a new folder and move the jar file to that folder. If you have java correclty configurared you can double click the jar file to start the application.
If this doesn’t work for your, you can start the program by opening a comand line window in the folder and type java -jar modeler-A.B-beta.jar replacing ‘modeler-A.B-beta.jar’ for the name of the jar file.
If the program starts, a folder called data will be created. This folders stores backups, the main config file and the logs of the program. If the program fails to start you can copy the program logs and open an issue in github.
Current state
Currently this is project is not in active development. So don’t expect updates soon, unless I need 3D models for other project, then I will continue updating this 3D editor.
VS: Vintage Story model format (not all features are supported)
The formats TCN, TBL and JSON are based on storing objects as cubes with properties, they don’t allow
arbitrary kinds of shapes so it’s impossible to export complex models to them.
Features
Free vertex edit capabilities
Free UV edit capabilities
Translation, rotation and scale
Object, face, edge and vertex individual selection
Texture import on change
Automatic backup creation and removal of old backups
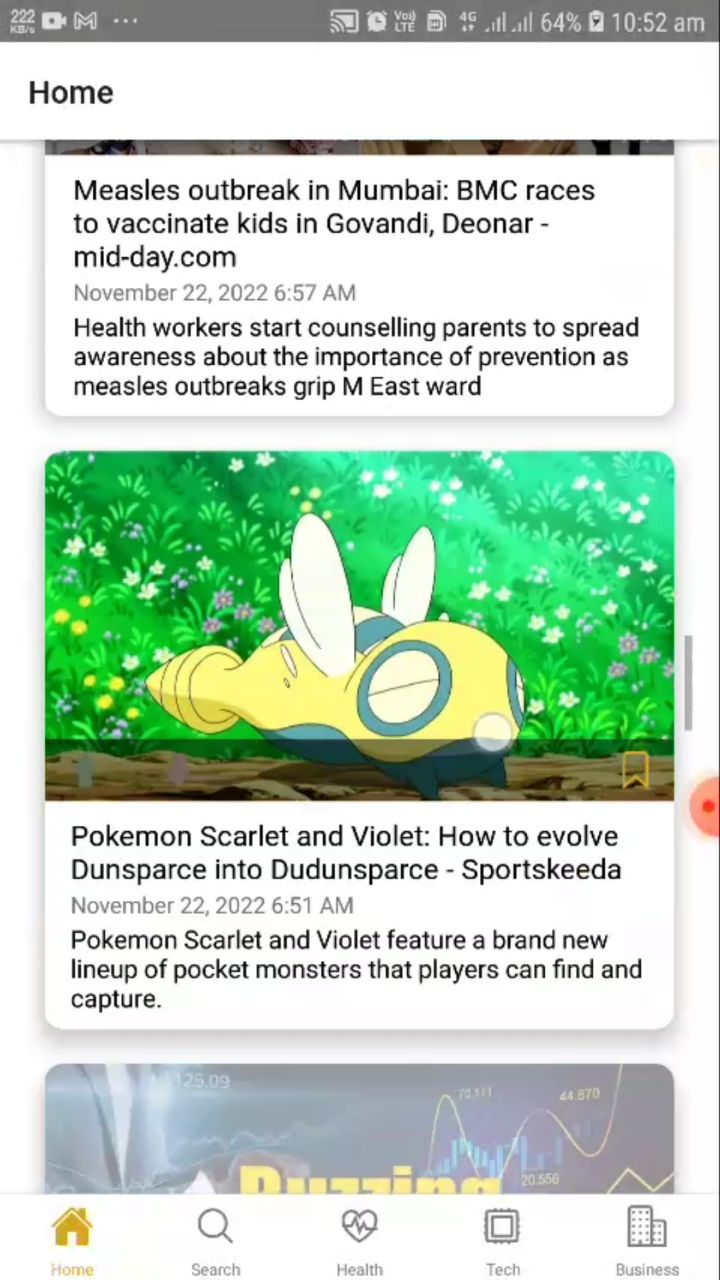

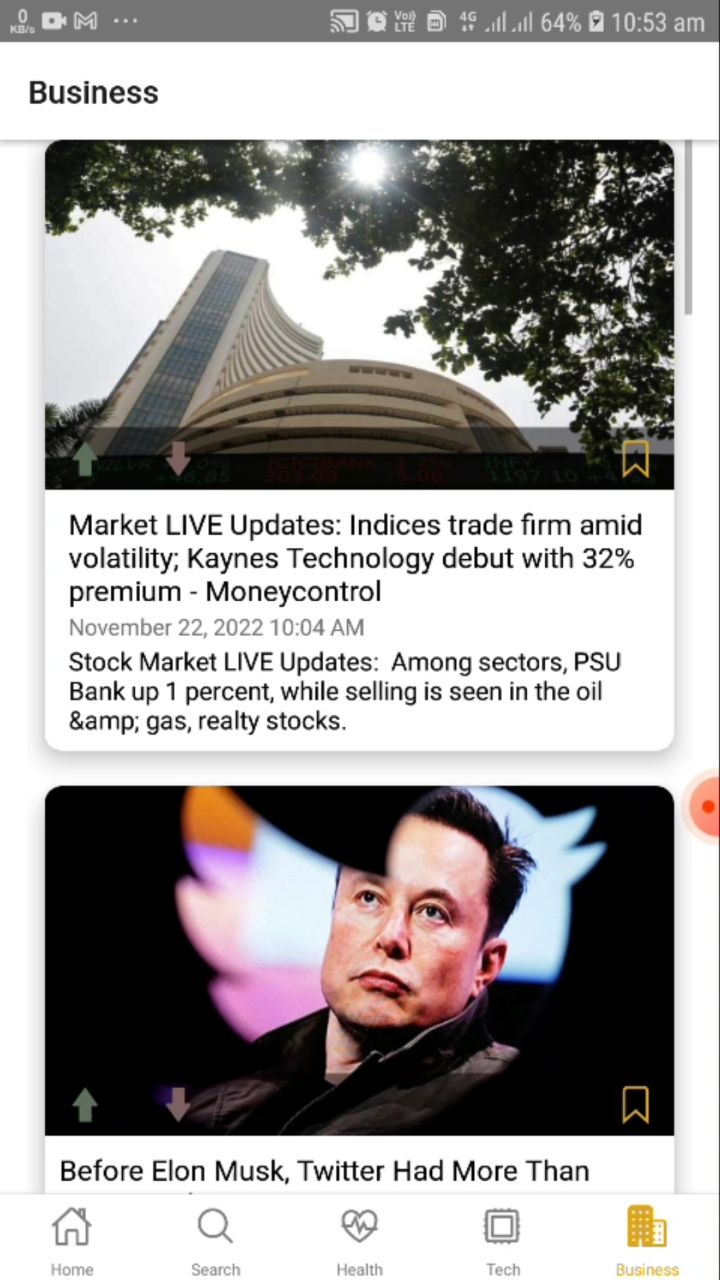
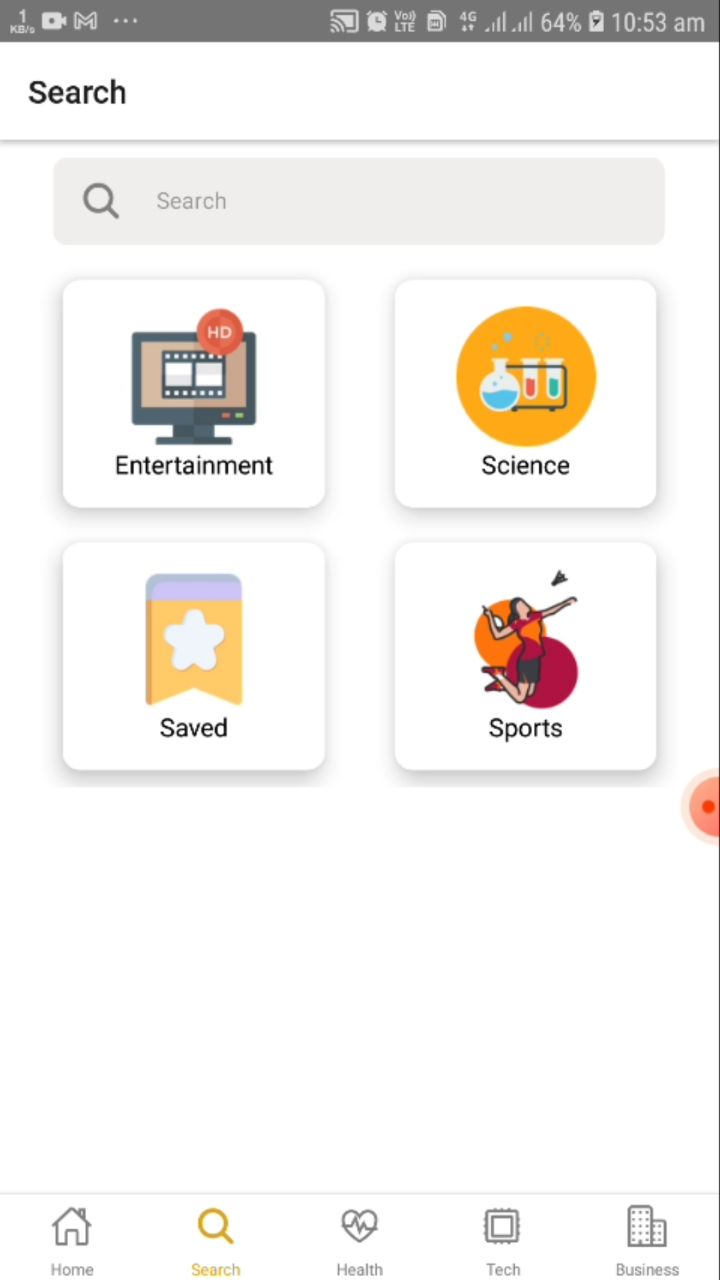
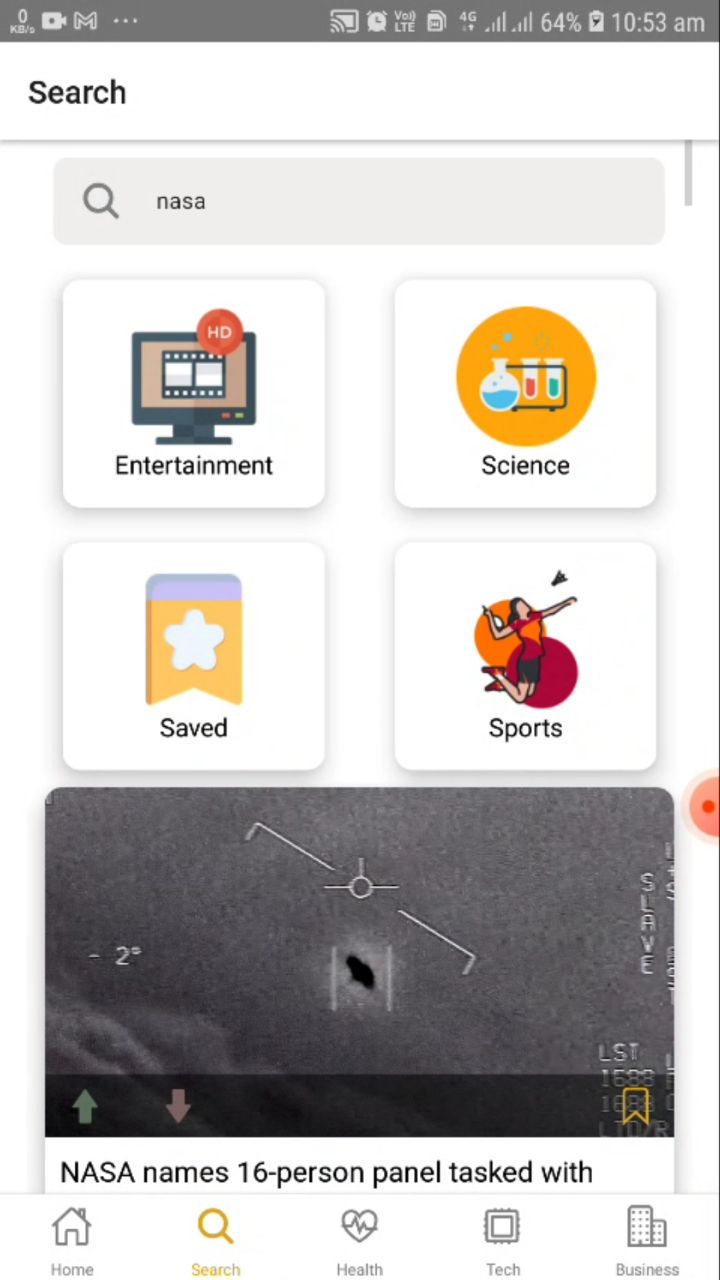


 https://github.com/sketchomania/news-app